
Migration of a website built with a CMS and its database
Migration Tool: How to transfer a website built with a CMS to Hosting Solutions servers.
Transferring a website from one provider to another involves a series of operations that must be carried out carefully and in the right sequence. To facilitate these activities, Hosting Solutions has created Migration Tool, a web tool that helps the user in the transfer of a website built with CMS (and its database), aligning the files and data of the site from the old to the new server.
To access the Migration Tool "CMS" (File + DB) you need to connect to the following URL:
https://wp.migrationtool.it/index.php
NOTE: The tool provides a set of specific utilities for websites built with the CMS Wordpress
Before starting the transfer, it is important to:
- check that the site folder on the old server (source folder) is stil present;
- check that the site folder on the new server (destination folder) has already been created;
- check that there is sufficient space on the new server to receive the database dump (export). It is also essential to first create the database that will receive the dump (the database will initially be empty).
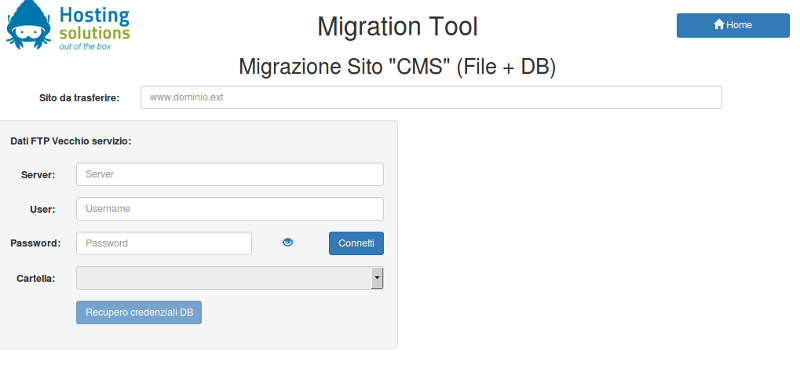
In order to migrate the files of a website, it is first necessary to provide the tool with the main URL (home page address) of the site to be transferred, by entering it in the field URL site to be transferred; in addition, the following information, necessary for the FTP transfer from the old server, must be provided in the fields of the form FTP data Old service:
- Server: IP address or name of the source server;
- User: User for FTP access on the source server;
- Password: Password for FTP access on the source server.
Before continuing, carry out the connection test by clicking on the specific button: if the test is successful, select the source folder, in which the files to be transferred are located from the Folder list.
If your site is built with the WordPress CMS, you can click on the Recupero CREDENZIALI DB button to automatically retrieve both the database access credentials from the source server and populate the form on the right entitled Old Service DB Data; alternatively, you can provide these credentials manually in the form (see image).

If you manually enter data entry and DB credentials, the values to be entered are:
- Server: IP address or name of the server where the DB is hosted;
- User: User name of the database;
- Password: Password of the database;
- Database: Name of the database.
Clicking on the Dump DB button will export the database to a temporary folder on the old server, while waiting to transfer it to the new server.
At this point, the tool will request the information needed to transfer - via FTP - the data to the target server, and they are:
- Server: IP address or name of the target server;
- User: User for FTP access on the target server;
- Password: Password for FTP access on the target server.
Then select from the Folder list the name of the destination folder (previously created) that will host the site files.
Finally, start transferring (copy) the files by clicking on the Trasferisci File button.
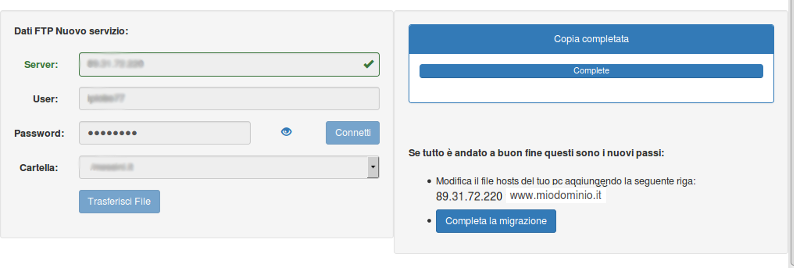
At the end of the procedure, a message indicating that the copy is complete will be displayed.
ATTENTION:at this point, all the files necessary for the site have been physically transferred, but the server that responds to the site's URL (e.g. www.domainname.it) is still that of the old service, because the DNS servers still point to the old server: until the appropriate changes are made to the DNS, in order to see the site from the new server, it will be necessary to add a line to the hosts file of the computer in use, in the format "IP_address_new_server[space]URL_site" for example,
XXX.XXX.XXX.XXX www.domainname.it
where XXX.XXX.XXX.XXX is the IP address of the new serverr
NOTE On Windows operating systems the hosts file is in C:\Windows\System32\drivers\etc; on Unix-Linux systems it is in/etc
To complete the transfer of the website, the data for the destination database, must be provided, where the database previously exported from the old server will be imported.
To do import this, connect to the URL in the format http://www.domainname.it/installhs where, instead of www.domainname.it the URL of the transferred site must be entered.
The page displayed will ask you to enter the following data:
- Server: IP address or name of the new server where the DB will be hosted;
- User: User name of the new database;
- Password: Password of the new database;
- Database: Name of the new database.

Once the required data has been entered, perform the following operations in the order indicated:
- Carry out the connection test by clicking on the appropriate button,
- Import the database by clicking on the Restore DB button,
- Update the configuration file with the new database data by clicking on the Update Config button.
The transfer of the files and the site database s now complete.
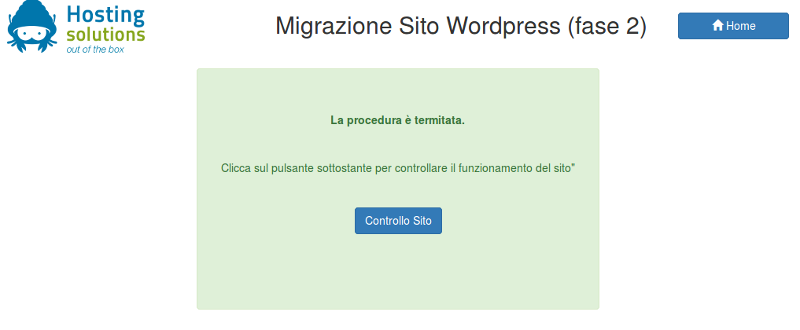
Finally, to make the newly transferred site available on the Internet, you will need to updatethe DNS servers with the IP address of the new server.